Metrology

A very important aspect in mechanical manufacturing is the final verification of the manufactured parts. As important as producing is assuring it is well produced. In the new centre it wouldn't make sense not to count on the up-to-date metrology machines, which would enable the measurement of those functional dimensions, such as lengths, angles, geometrical tolerances and surface finishing, which make it possible to validate a part manufacturing process, even more important when dealing with so high MRL levels, very close to the final part.
The driver sector of the CFAA is the aeronautical sector. In this sector these manufacturing constraints are even more evident, demanding superior quality requirements to any other industry market such as the automotive or the energy sector.

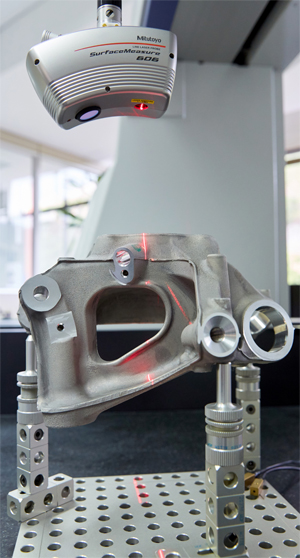
Therefore, the new centre will count on two Cartesian kinematics coordinate-measuring machines from Mitutoyo company, one of them for contact measurements and the other one for non-contact measurements:
- MITUTOYO CRYSTA APEX C162012: This is the biggest one, and it will mount a REVO rapid touch probe from Renishaw for 5 axes measuring with contact. This probe enables the tracing of a continuous path around geometrically complex components.
- MITUTOYO CRYSTA APEX S 9106: A smaller machine that will include a scanning head and a laser raster.
